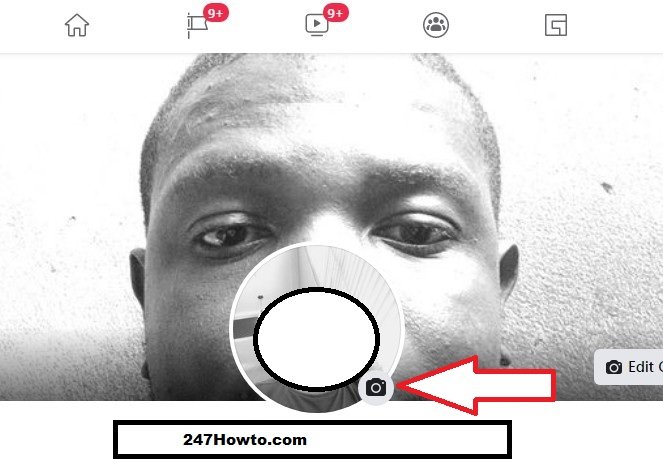
Just as the name implies, temporary profile pictures don’t stay permanently, it expires after a period of time. This feature was added to enable people to change their profile pictures only for a period of time before it disappears. Remember a profile picture is always public and after this expires it will still be accessible in your profile pictures album. Follow the guideline below to learn how it’s done.
How to add a temporary profile picture on Facebook
- Click on your picture to go to your profile which could be found on the top right corner of your screen.
- Take a look at your profile picture at the bottom right side of it and click on the camera icon.

- From the pop-up, click on Upload Photo or Add Frame.
- Once your picture is being uploaded, click on Make Temporary.
- Select when to switch back to your previous profile picture.
- When you’re done click on Save.
Read: How to back up Facebook photos


